头部邮箱+阿里巴巴
E-mail: sales@ksj.cn 

Enter search content

NEWS
News
Hot Products
Do you know the error source of manual type customized measurement instrument?
- Time of issue:2021-07-13
(Summary description)To understand the measurement accuracy of the manual customized Measurement instrument, it is necessary to know the source of the error of the image measuring instrument.
Do you know the error source of manual type customized measurement instrument?
(Summary description)To understand the measurement accuracy of the manual customized Measurement instrument, it is necessary to know the source of the error of the image measuring instrument.
- Categories:Measurement instrument
- Author:
- Origin:
- Time of issue:2021-07-13 14:28
- Views:0
To understand the measurement accuracy of the manual customized Measurement instrument, it is necessary to know the source of the error of the image measuring instrument. The measurement on the image measuring instrument is a single-axis or two-dimensional plane coordinate measurement. When measuring, focus first, then align, read (count), and then calculate and process. The reading comes from the ruler or grating system, the focus alignment relies on the optical image system, and there is also an illumination source that directly affects the measurement effect and accuracy. The measurement result obviously deviates from its true size. In addition to the aforementioned factors, environmental conditions are also factors that restrict measurement accuracy and cannot be ignored. Based on the above analysis, the following sources of error can be summarized.
1. The error of grating ruler counting.
2. Errors caused by straightness and angular pendulum when the workbench moves.
3. The error of the verticality band of the two measuring axes of the worktable.
4. The error of the non-perpendicular band between the optical axis of the lens and the table.
5. Measure the error caused by environmental temperature changes.
6. Focus and alignment errors caused by changes in the lighting conditions of the light source.
In summary, it is an introduction to the error source knowledge of the manual customized Measurement instrument.
Scan the QR code to read on your phone

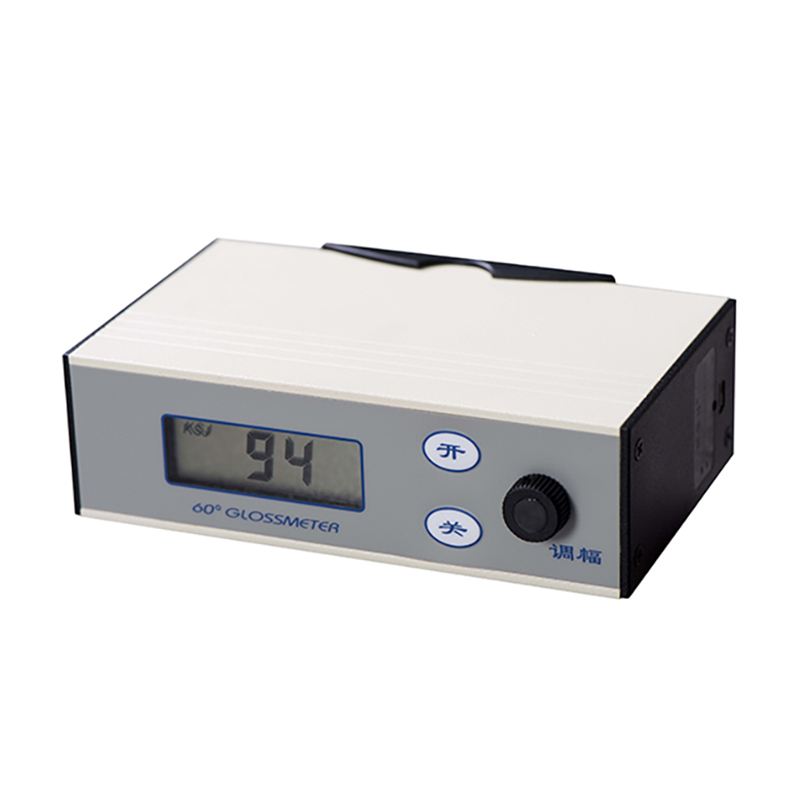
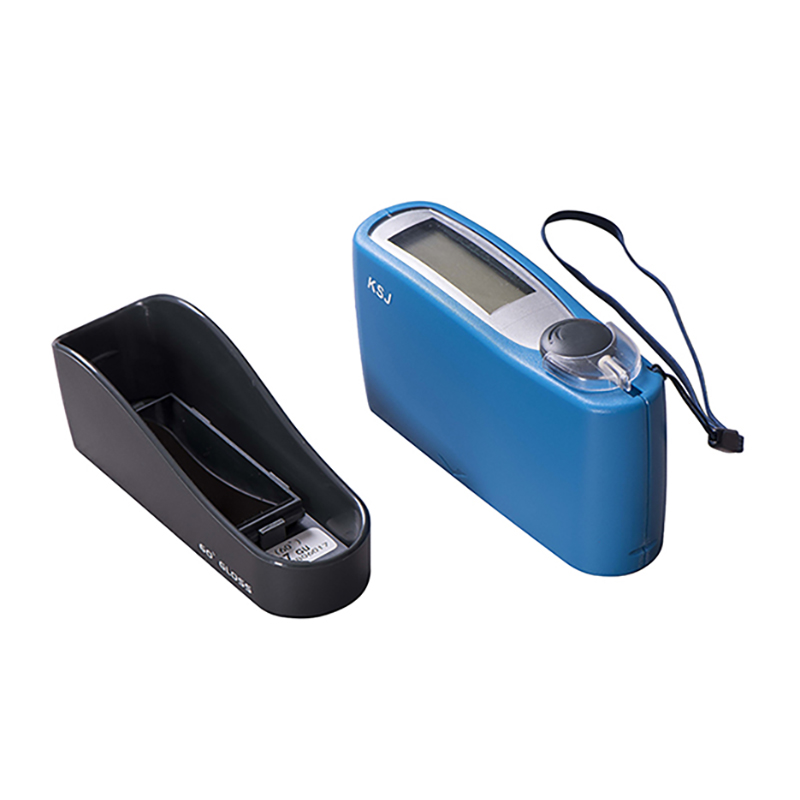
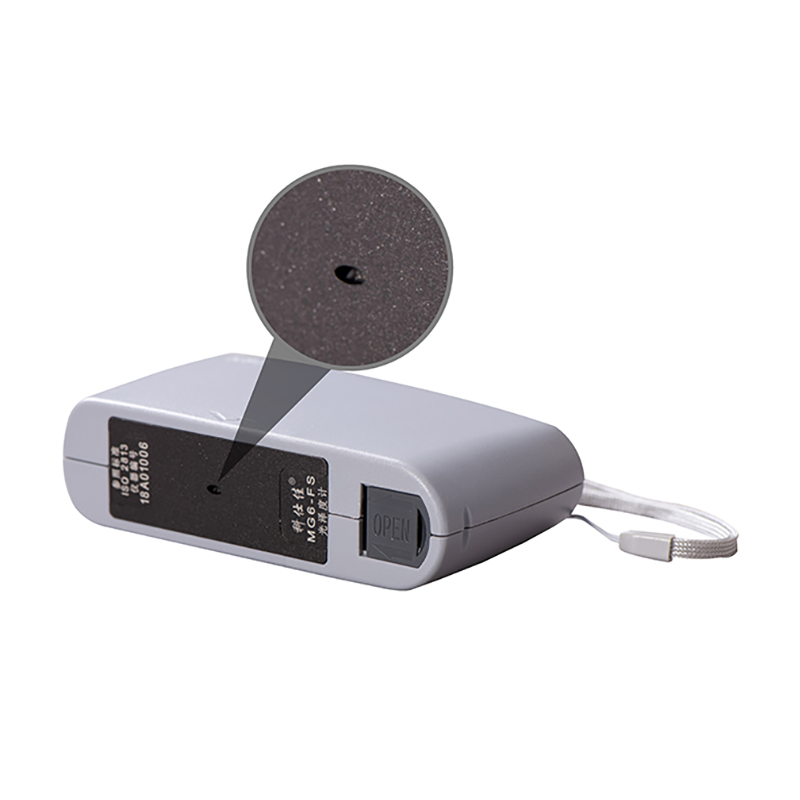
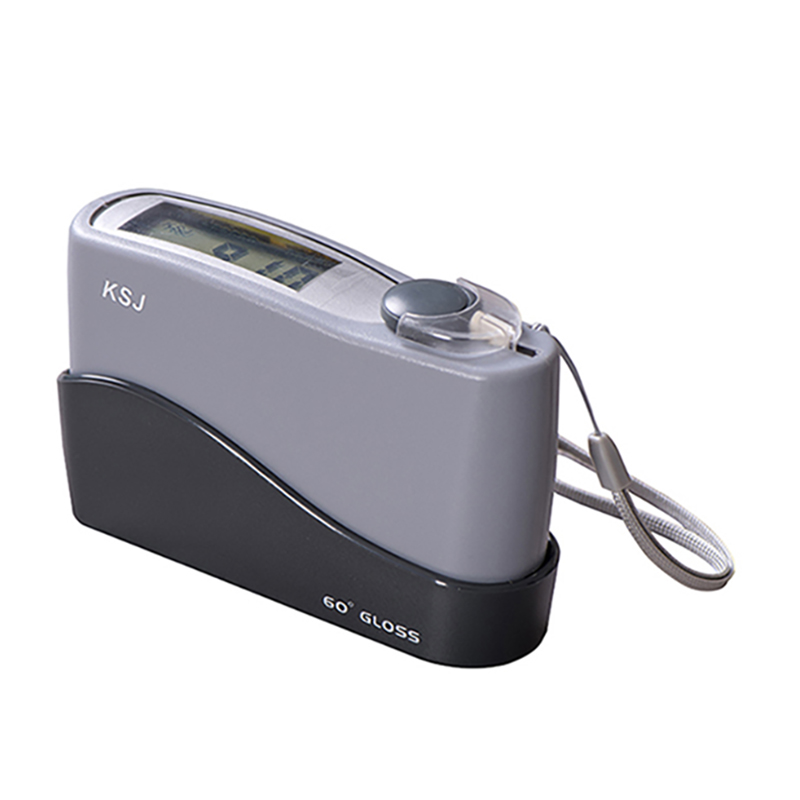
After eighteen-years’development, KSJ Glossmeters have been widely used all over the world in gloss measuring of paintwork, decorative materials, woodenwares, ceramic, printing ink, paper, as well as metal polishing and depositing. And becoming the first choice for experts in the above fields.
Online Message
Contact Us


